
A good duct layout starts with airflow—not with drawing lines.
Ductwork should be sized and routed from room-by-room airflow requirements, available static pressure, fitting losses, and equipment performance. A neat sketch is not enough if the air cannot reach the rooms quietly and efficiently.
Direct answer: To design a residential ductwork layout correctly, first complete a room-by-room Manual J, select the equipment and operating airflow with Manual S, then use Manual D to size trunks, branches, fittings, supplies, and returns from the available static pressure and total effective length.

Duct design should follow the load calculation and equipment selection.
The airflow assigned to each room should come from the room-by-room load. The total airflow should come from the selected equipment. Only then can the duct system be sized around the pressure available from the blower.
Calculate room loads
Determine each room’s heating and cooling requirement.
Select equipment
Confirm actual capacity and required operating airflow.
Set airflow
Assign CFM to each room and confirm the system total.
Build the pressure budget
Account for the coil, filter, grilles, and accessories.
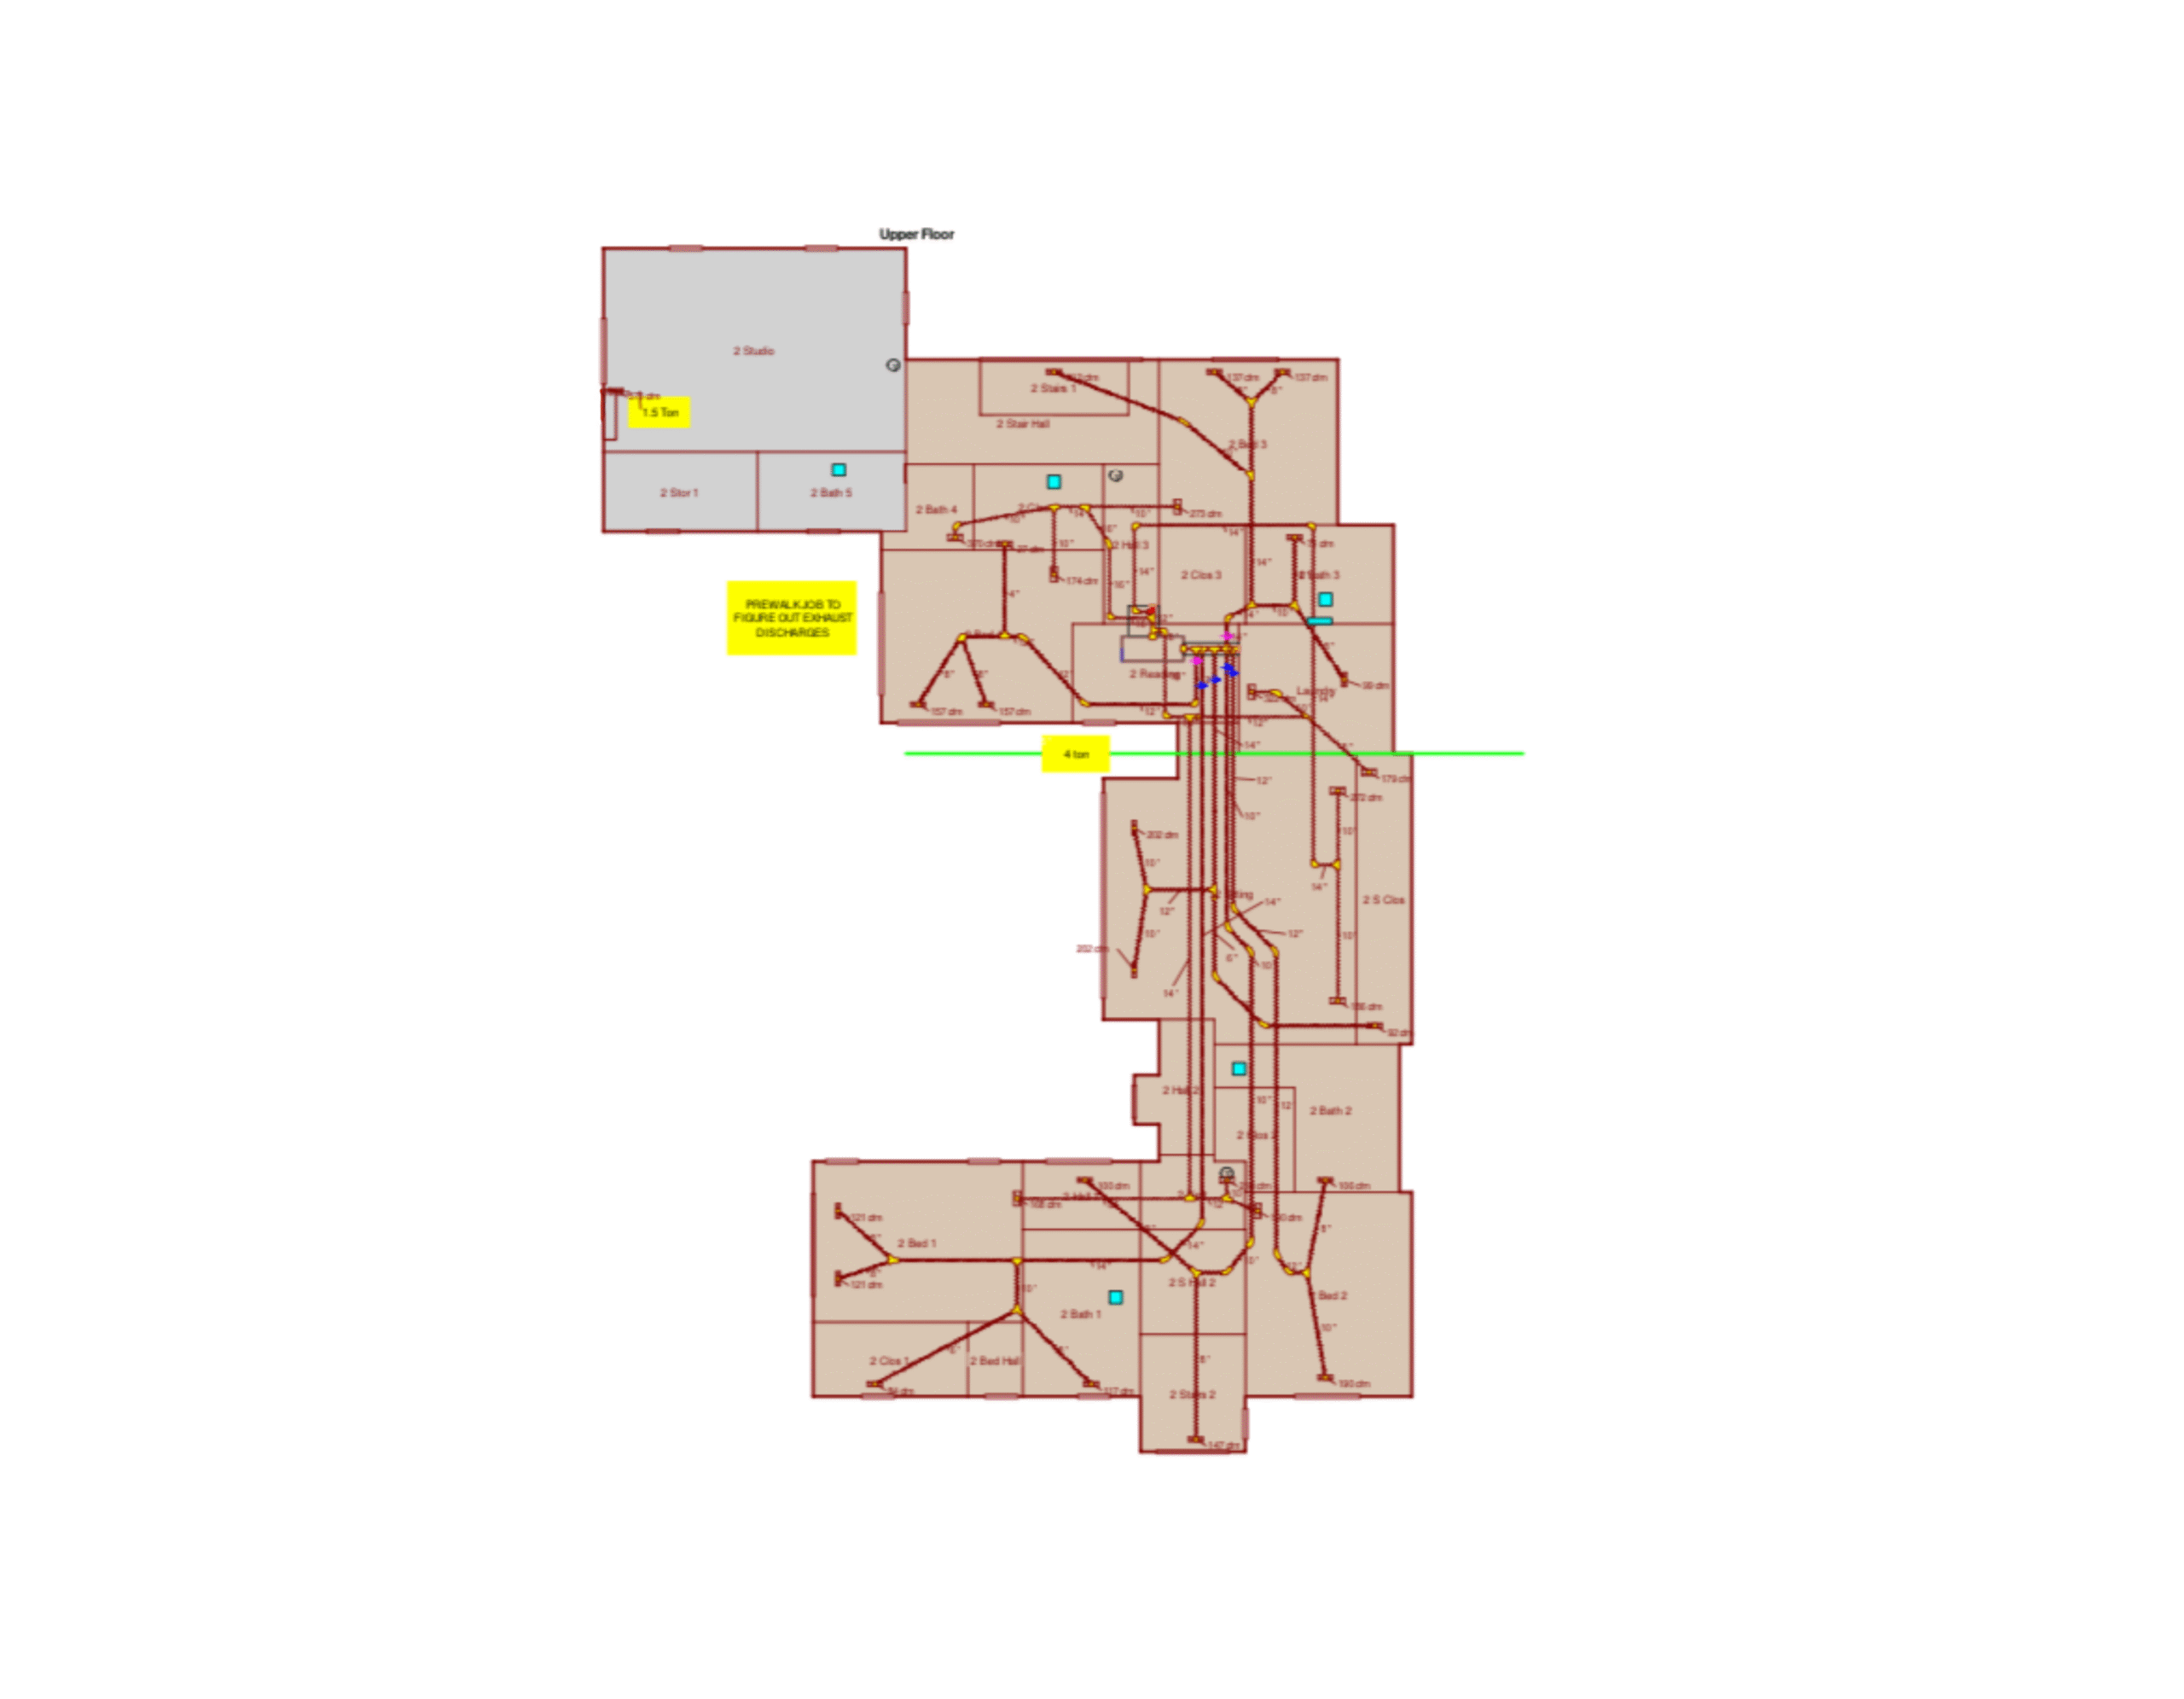
Map routes and fittings
Trace trunks, branches, elbows, transitions, and returns.
Size and verify
Check duct size, velocity, friction, and balance.
Why the sequence matters: Duct sizes chosen before airflow and pressure are known are guesses. Manual D turns known values into a defendable distribution design.
Each branch should serve a known load.
Room airflow is based on the room’s share of the heating and cooling load, not on square footage alone. A west-facing bedroom with large glass may need more cooling airflow than an interior room of equal size.
That is why room-by-room HVAC load calculations are central to duct design. They connect the building exposure to the air that must be delivered.
When every branch starts with a known CFM target, the layout can be checked for branch size, throw, velocity, outlet selection, and balancing.
Equal branch size does not mean equal comfort. The branch should reflect the airflow need, route resistance, and outlet conditions for that room.
Available static pressure is what the duct system has to work with.
Begin with the selected equipment.
The blower table identifies how much airflow the unit can deliver at different external static pressures and settings.
Subtract resistance outside the ducts.
Filters, coils, grilles, dampers, air cleaners, and accessories consume part of the pressure budget.
The balance belongs to the duct system.
The pressure left after component losses is used to size the supply and return ductwork.
| Design item | Why it matters | Common mistake |
|---|---|---|
| Blower operating point | Defines airflow at real external static pressure | Assuming nominal CFM without checking blower data |
| Filter resistance | Can consume a large share of the pressure budget | Using an undersized filter or ignoring loaded-filter pressure |
| Coil pressure drop | Changes with airflow and equipment combination | Using a generic value instead of product data |
| Grilles and accessories | Add resistance and affect noise | Adding them after the ducts were sized |
A short duct with several fittings can behave like a much longer duct.
Manual D does not look only at measured straight duct. Fittings add equivalent length because elbows, takeoffs, transitions, boots, and changes in direction create resistance.
The most restrictive supply and return paths help establish the total effective length used in the design.
Two branches of the same physical length may therefore need different sizes or fitting choices.
Route quality matters: A compact layout with smooth transitions and lower-loss fittings can reduce resistance without increasing duct size.

Good supply design places air where the room load occurs.
- Place outlets with exterior walls and glass exposure in mind
- Use the room airflow target to size outlets and branches
- Check throw, spread, and terminal velocity
- Avoid outlet locations blocked by furniture or doors
- Use fittings that reduce turbulence and pressure loss
- Keep branch routes practical and accessible
- Provide balancing dampers where appropriate
- Coordinate duct routes with framing and other trades
- Avoid excessive flex-duct sag and compression
- Confirm outlet noise at design airflow
Supply layout is not only about moving air into a room. The air must mix with the room, offset the load, and do so without objectionable noise or drafts.
Supply air cannot enter a room properly unless air can leave it.
A room with a closed door needs a return-air path. That may be a dedicated return, transfer grille, jump duct, or another code-compliant strategy.
Undersized returns can increase pressure, reduce airflow, raise noise, and create room pressure problems. Return leaks can also pull hot, cold, dusty, or humid air from unwanted spaces.
Supply and return design should be developed together.
Pressure balance matters: Bedrooms and other closable rooms should not become highly pressurized or depressurized when doors are closed.

What weakens an otherwise good HVAC design.
Routes are drawn before airflow is known.
The plan may look organized, but the sizes have no connection to room requirements.
The blower is assumed to deliver fixed CFM.
Actual airflow depends on the equipment combination, blower setting, and external static pressure.
Straight length is used without equivalent length.
High-loss fittings can make a route far more restrictive than it appears.
Return sizing is treated as an afterthought.
The result can be noise, low airflow, and closed-door pressure.
Larger ducts are used without checking outlet performance.
Very low velocity can reduce throw and room mixing.
Installed resistance exceeds the design assumption.
Sag, compression, tight bends, and poor support reduce airflow.
A good design still depends on field execution.
The installed system should preserve the designed sizes, fitting types, routes, insulation, sealing, support, and outlet locations as closely as practical.
Field changes should be reviewed when they alter effective length, fitting loss, or available space.
After installation, balancing and measured performance help confirm that the rooms receive the intended airflow.
The drawing is not the finish line. Design, installation, sealing, support, and balancing work together.
Residential ductwork layout FAQ
What is the correct way to design residential ductwork?
Start with room-by-room loads, select the equipment and operating airflow, determine available static pressure, calculate total effective length, and then size the supply and return ducts using Manual D.
Can ductwork be sized by square footage?
No dependable duct design can be based on square footage alone. Duct sizing depends on room airflow, system airflow, available pressure, route length, fittings, and outlet conditions.
What is available static pressure?
It is the pressure remaining for the duct system after subtracting the resistance of the coil, filter, grilles, accessories, and other external components from the blower’s pressure capability.
What is total effective length?
It combines straight duct length with the equivalent length of fittings along the most restrictive supply and return paths.
Why are return ducts important?
Return ducts complete the airflow circuit. Weak return paths can increase static pressure, reduce airflow, create noise, and cause room pressure problems.
Is flex duct acceptable in a Manual D design?
Flex duct can be used when sized correctly and installed fully stretched, supported, sealed, and routed with gentle bends.
Does Manual D include grille and register selection?
Manual D establishes airflow and duct design. Outlet selection should also consider pressure drop, velocity, noise, throw, and spread.
How do I start a residential duct-design project?
Use the pricing and project-start page to select the needed Manual J, Manual S, or Manual D service and submit the plans.
Continue through the residential HVAC design process.
The primary service page for residential duct sizing and static pressure.
Explore Manual D →How each room’s load becomes an airflow requirement.
Read the room-load guide →How whole-house and room loads are calculated.
Explore Manual J →How equipment capacity and operating airflow are selected.
Explore Manual S →The main guide connecting the building, equipment, and airflow.
Open the pillar guide →Why shortcuts weaken equipment and duct decisions.
Compare the methods →Why extra capacity cannot repair a restrictive duct system.
Read the humidity guide →How professional software supports load and duct calculations.
Read the software guide →Choose the calculation package and submit project information.
See pricing and start →Build the duct layout from known loads and pressure.
Send the plans, project location, equipment information, and construction details. We will review the home and prepare the selected residential load-calculation and duct-design documents.